Here’s an easy step by step on How To Roast Acorn Squash. You can eat it as a side dish, or stuff it and make a complete meal out of it!
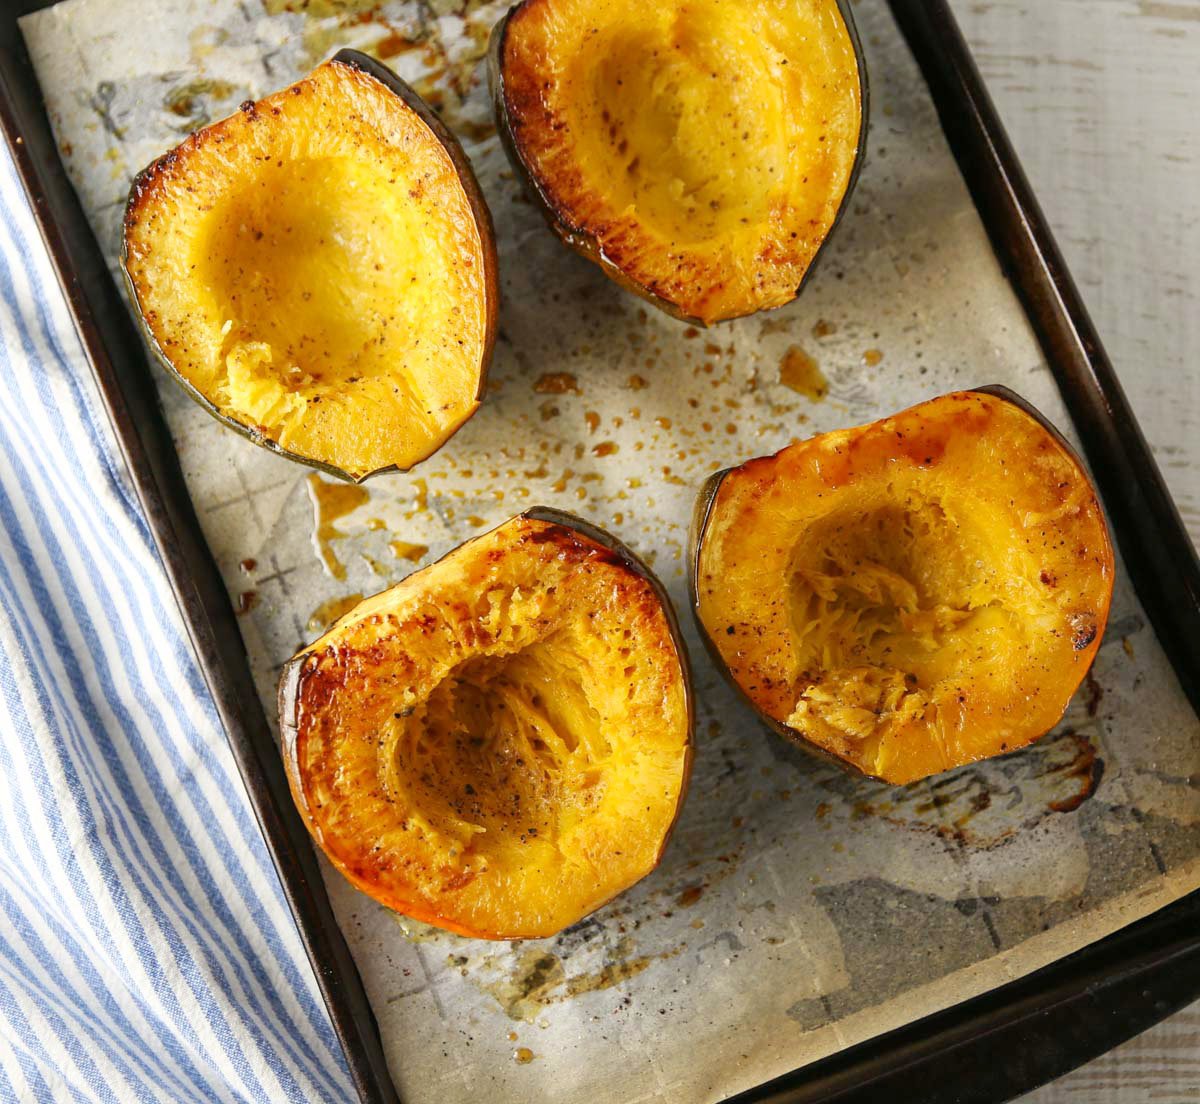
If you’re looking for recipes for stuffed Acorn Squash check out this Roasted Acorn Squash stuffed with Sage Mushrooms and Cranberries, or this Roasted Acorn Squash with Cranberry Walnut Quinoa Stuffing.
But before making either one of those you have to Roast the Acorn Squash, so here’s the step by step on this process.
How to pick Acorn Squash
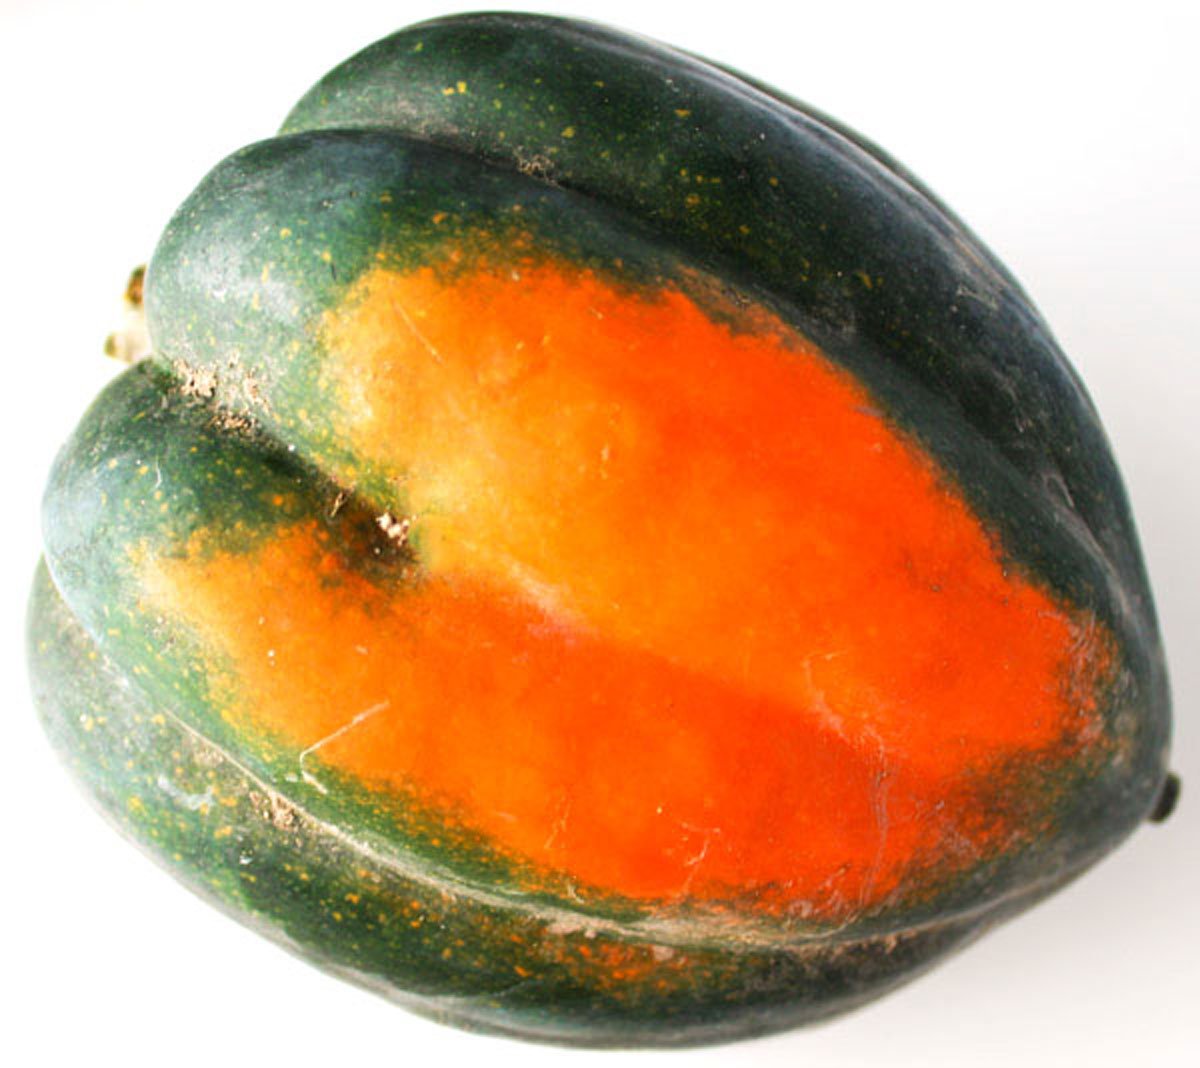
If you’re going to use this right away, then you want to make sure you get a ripe Acorn Squash. When you pick it up, it should feel a little heavy for its size. Look for a good mix of green and orange colors like in the picture below.
The skin should be smooth and dull with no soft spots. Avoid any with shiny skin, which means it was picked before its maturity.
How to cut Acorn Squash
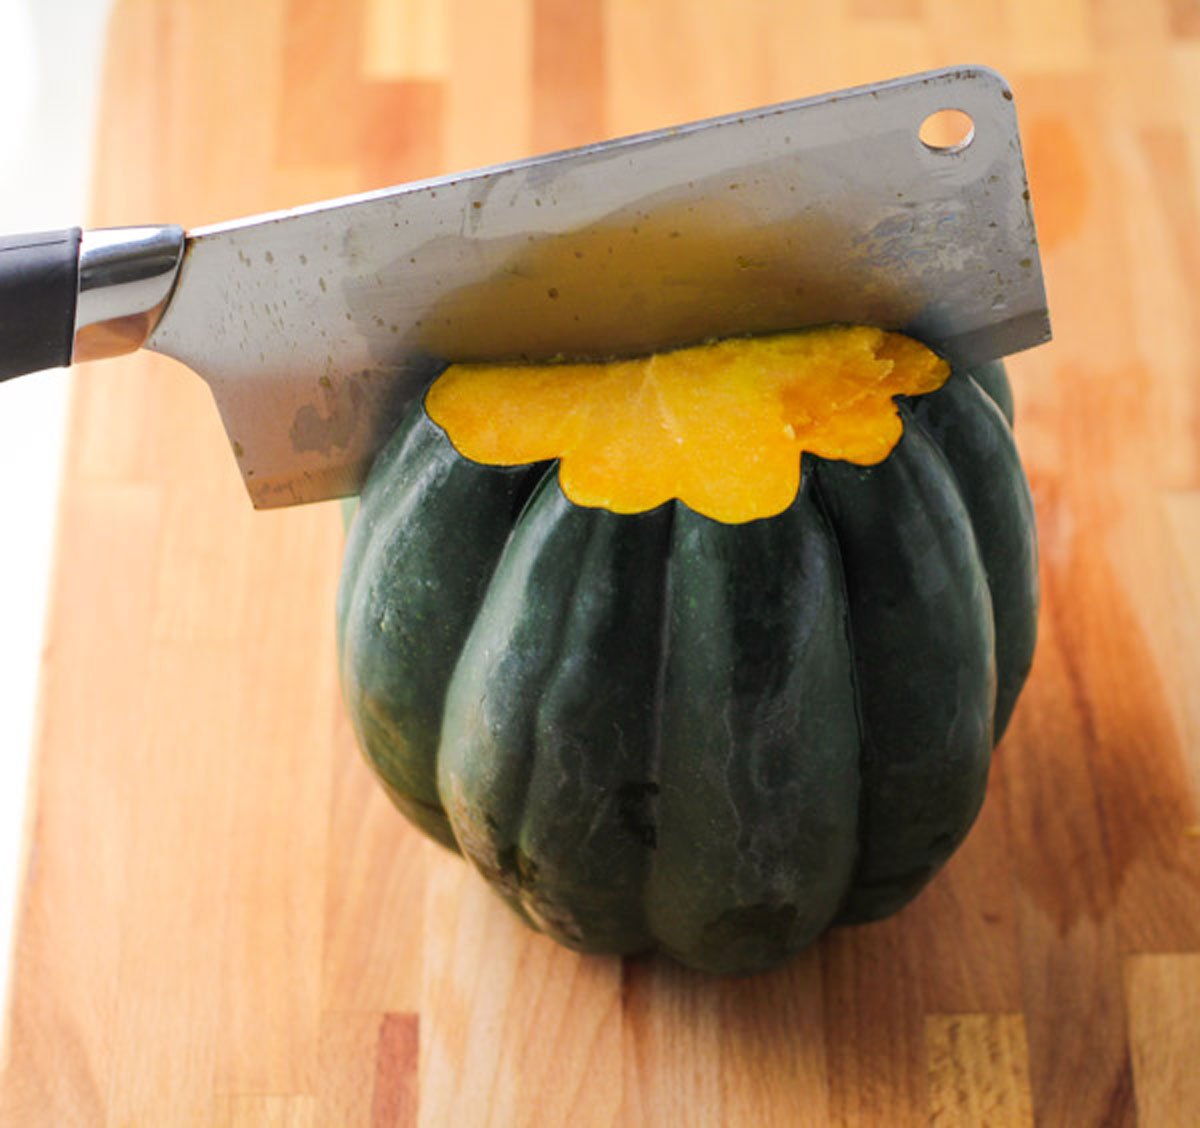
Having a really sharp big knife works best for cutting into the Acorn Squash. Start by cutting each end of the Squash off. This step will make it easier to cut in half because Squash can be quite slippery!
Stand the Squash up so its resting on one of the flat ends that is cut. Carefully cut the Squash in half lengthwise.
How to Prepare Acorn Squash
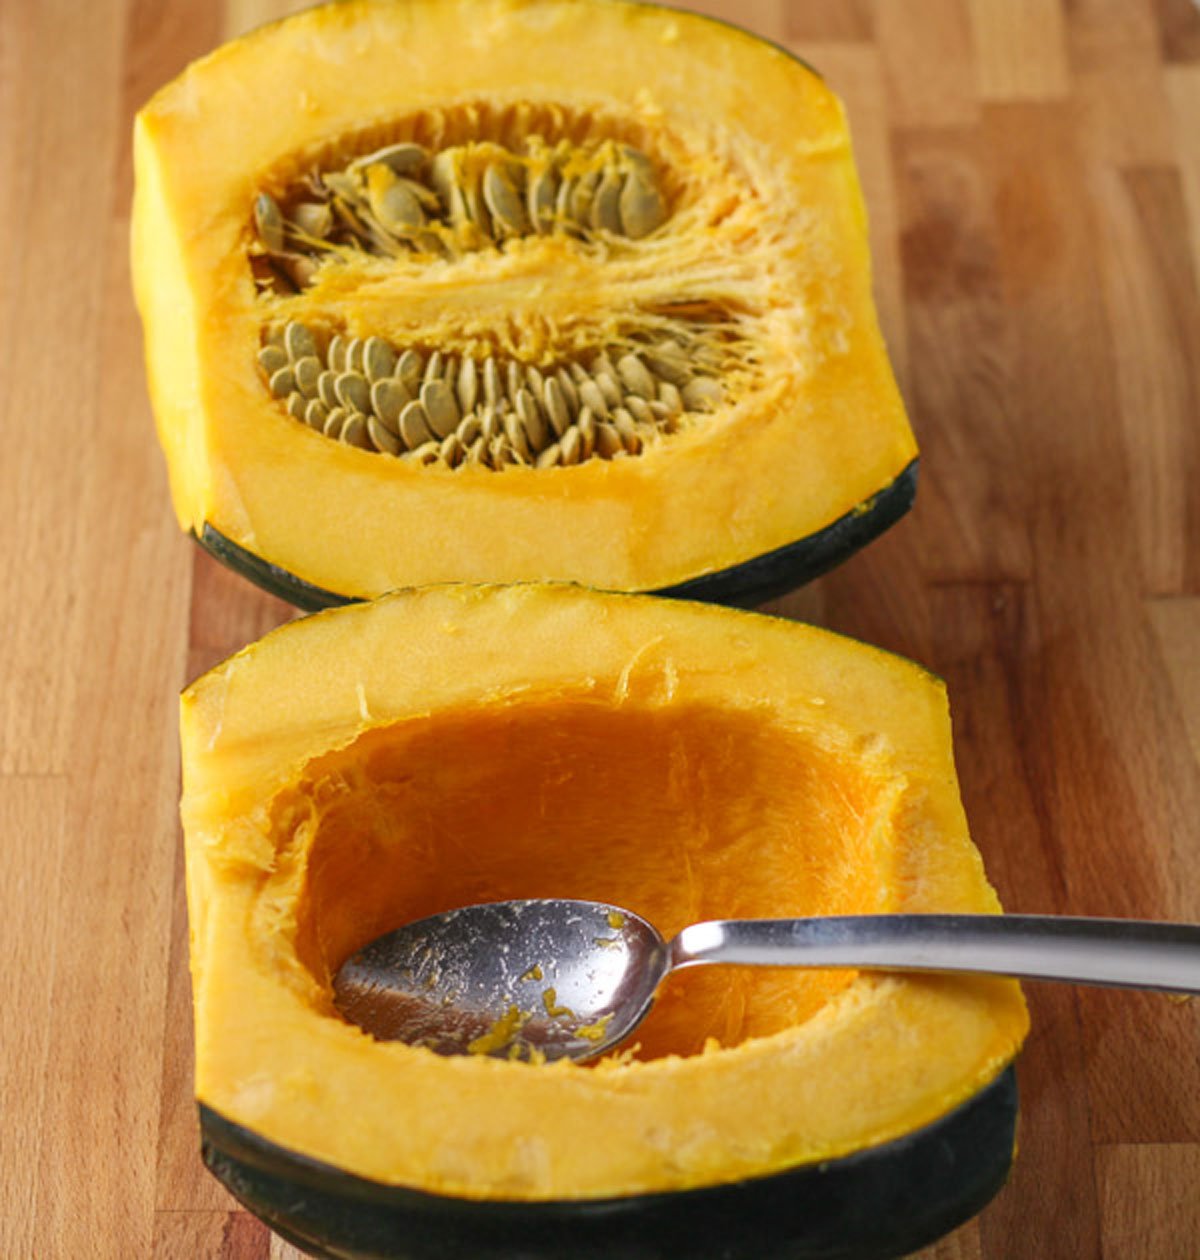
Now that it’s cut in half you’ll want to scoop out the seeds and stringy pieces with a spoon. You can discard these, or roast them like you would with pumpkin seeds.
Place the Squash on a baking sheet lined with Parchment Paper. This makes it less messy and they won’t stick to your pan.
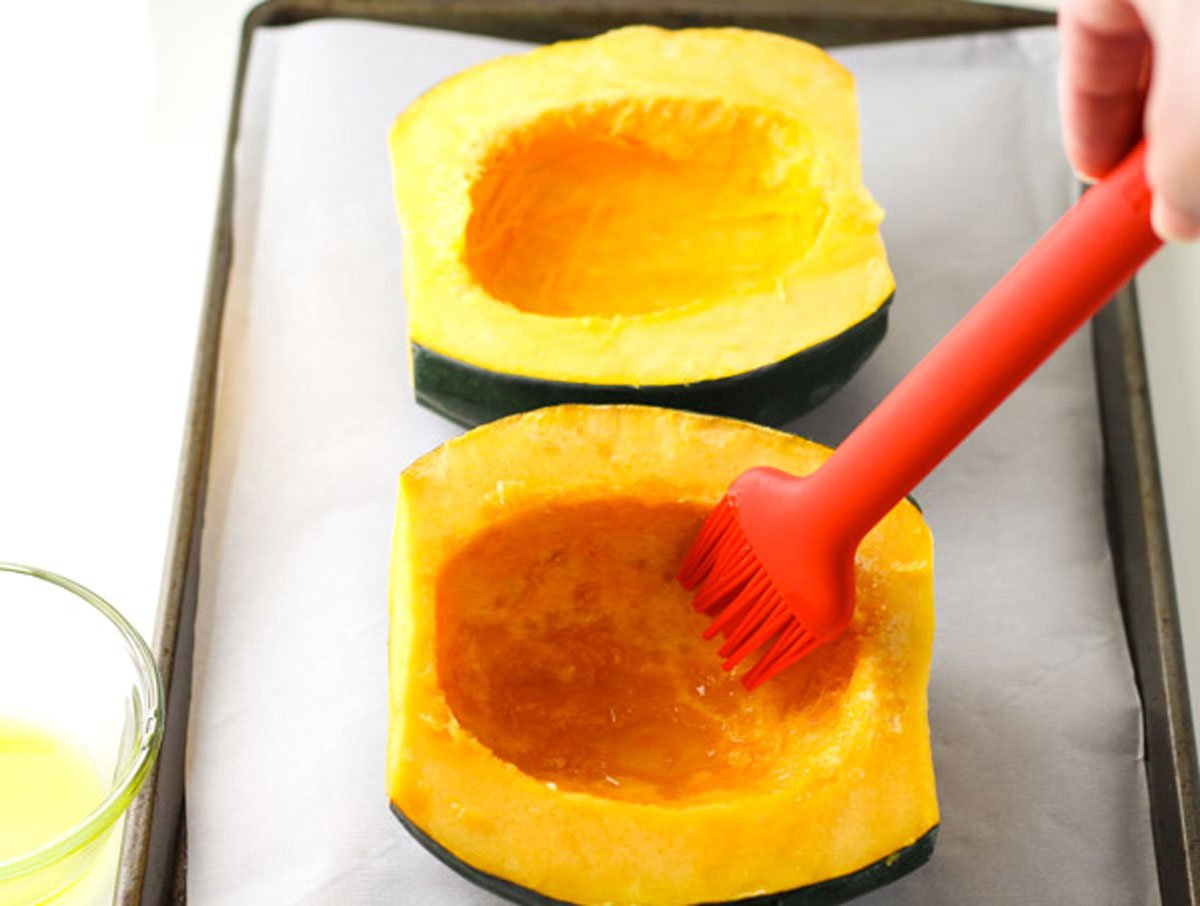
Brush each half with Extra Virgin Olive Oil. Then sprinkle with Sea Salt and Pepper.
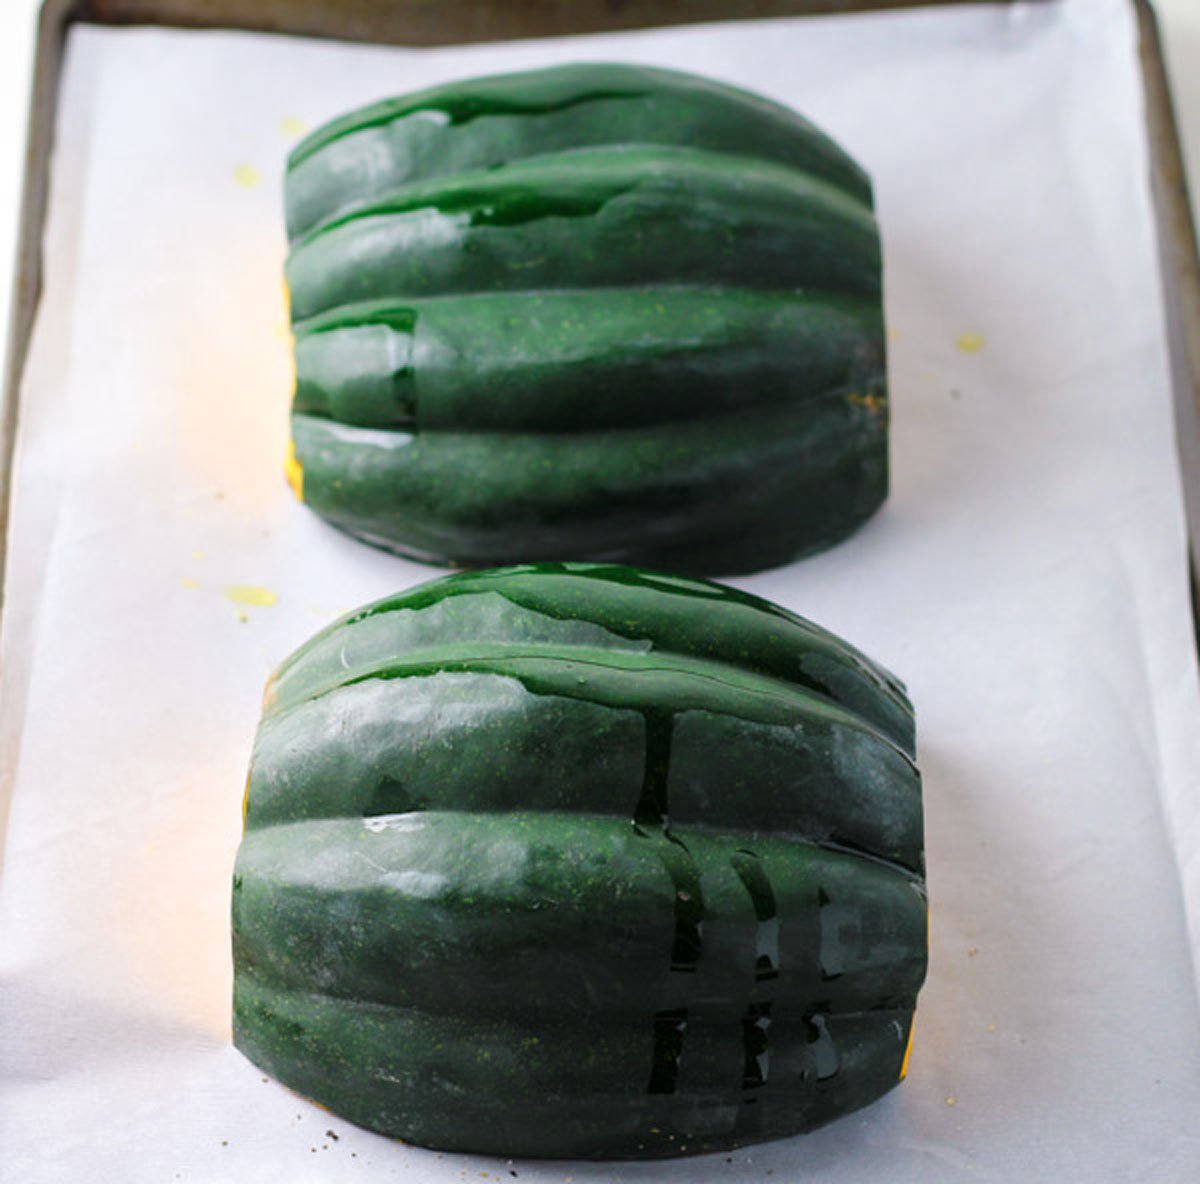
Turn the Squash halves over and bake at 450 degrees for 30-35 minutes until the Squash pierces easily with a fork.
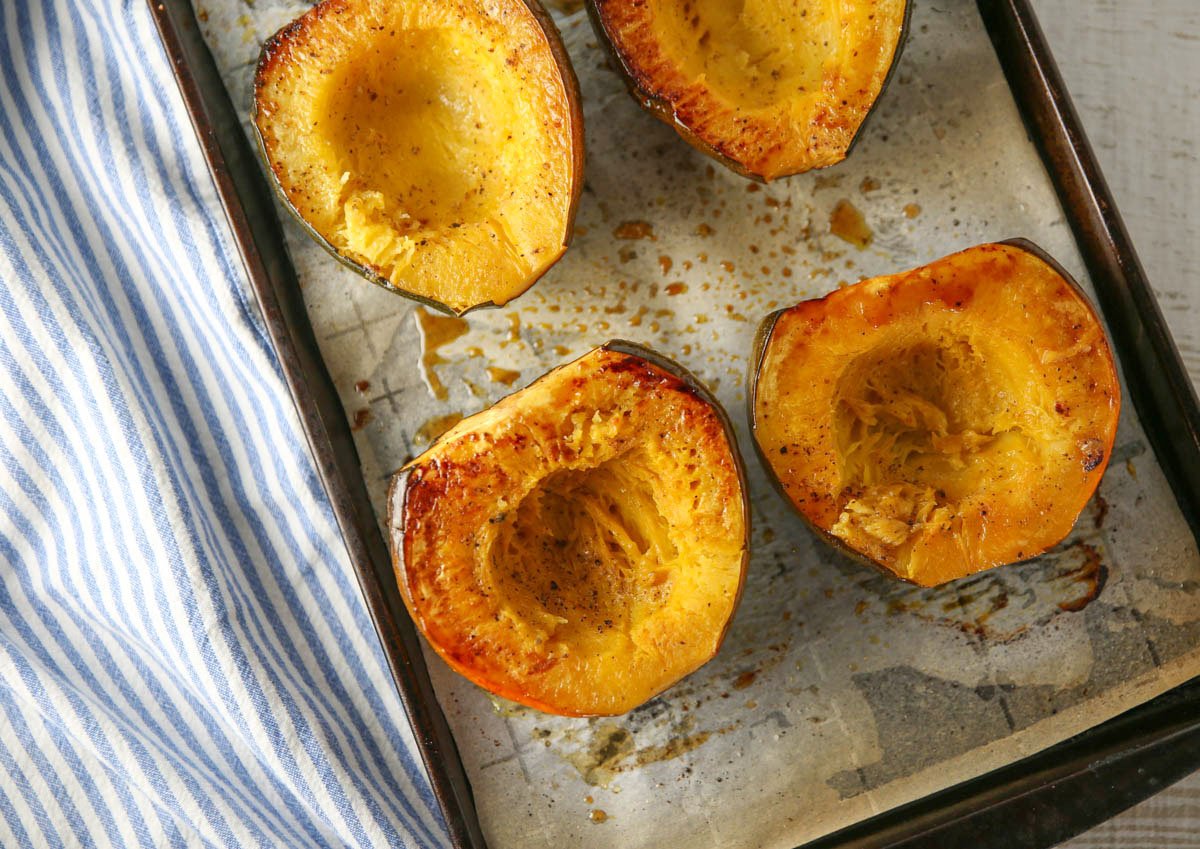
If you’re stuffing the Squash then you would want to remove the Roasted Squash around the 25 minute mark.
Stuff it and then bake it for an additional 10 minutes if using the stuffed Squash recipes from above.
Recipe FAQ and Tips
Yes, just wash the outside of the skin really well before baking.
No, I find it pretty hard to peel with all the crevices. It’s much easier to peel it off after baking it. Plus it’s edible, so feel free to eat it!
Keep it in an airtight container in the fridge for up to 5 days.
Yes, but the texture is never as good once you freeze it. You can cut the cooked squash into chunks or mash it. Then place it in a freezer safe airtight container for up to 12 months.
Yes, it is rich in antioxidants, contains many different vitamins and minerals. See nutrition chart below the recipe card.
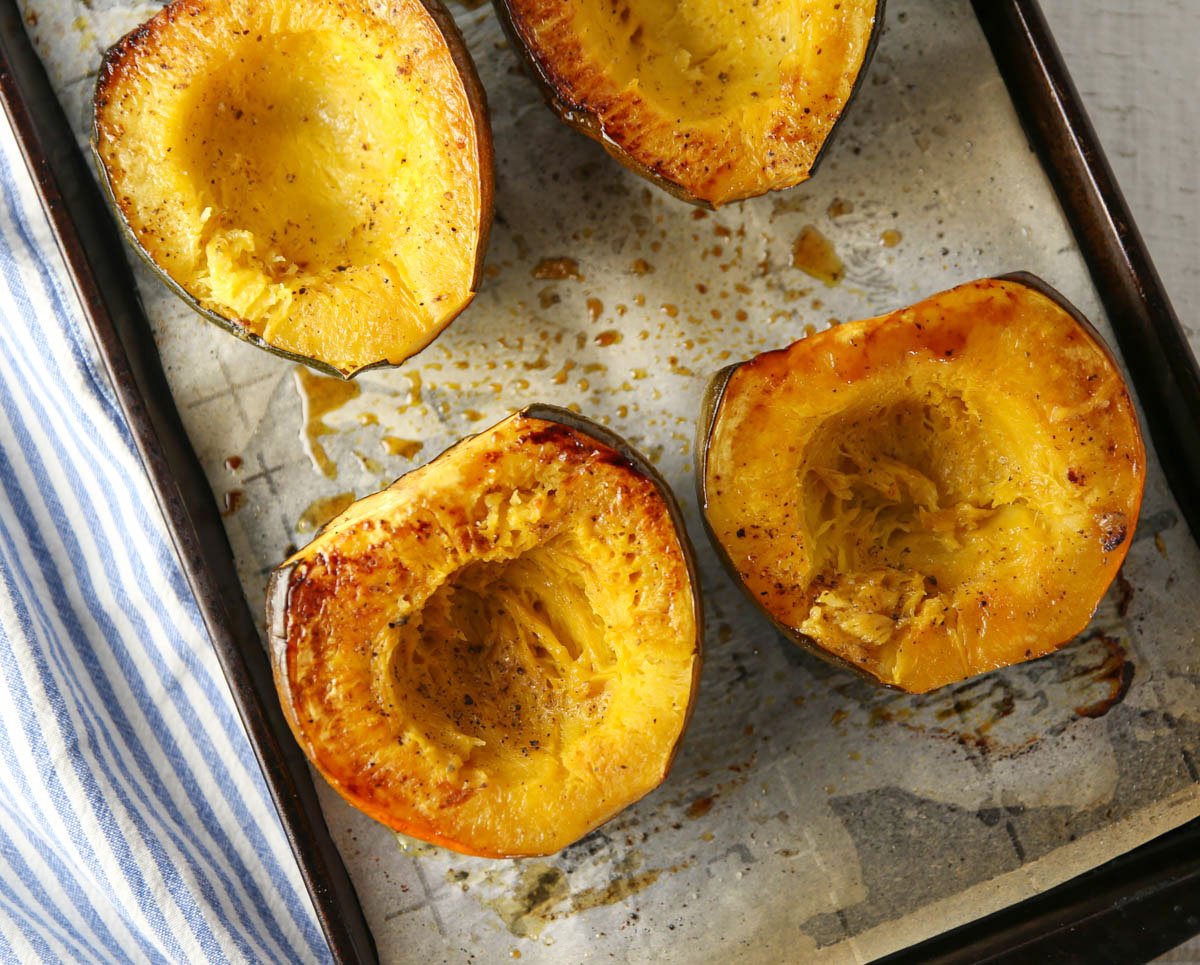
I hope you found this tutorial helpful, cheers to Squash Season!
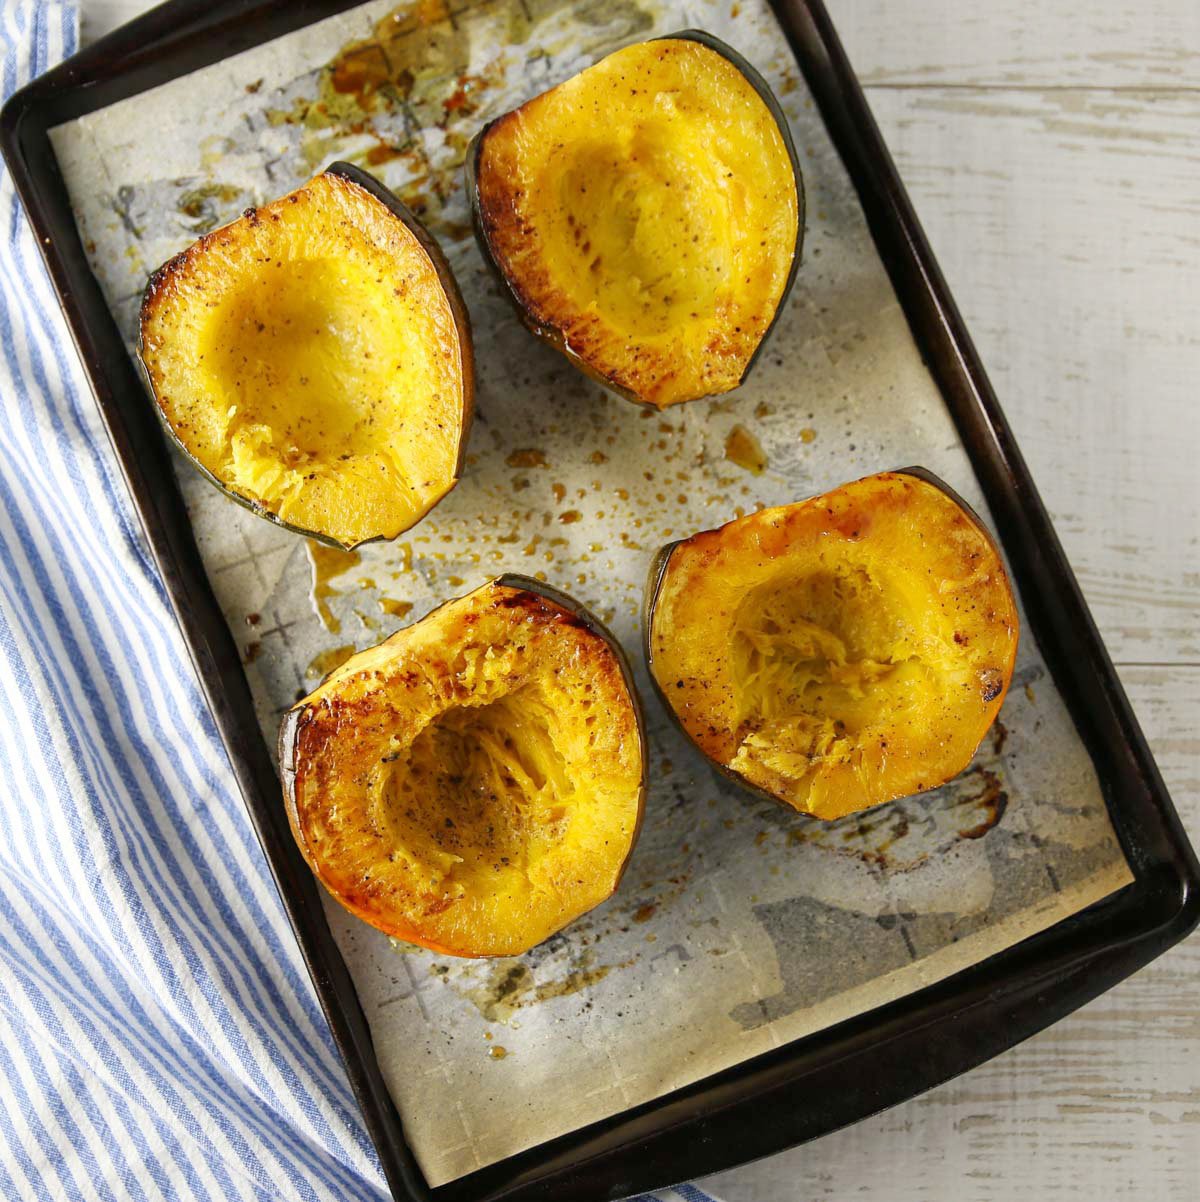
If you try this recipe let me know what you think! Leave a comment below, rate it, share it on social media, or take a picture and tag it #tastefulventure on Instagram! I LOVE seeing what you guys cook up.
More Squash Recipes
- How to Cook Spaghetti Squash
- Butternut Squash Chicken Chili
- Kale Quinoa Salad with Roasted Squash
- Coconut Squash Soup with Turmeric and Ginger
- Butternut Squash and Sage Risotto
- Spaghetti Squash Pizza Boats
- Garlic Parmesan Spaghetti Squash
- Roasted Acorn Squash and Apple Soup
- Butternut Squash and Spinach Frittata
- Italian Spaghetti Squash Boats
- Coconut Curry Butternut Squash Soup

How To Roast Acorn Squash
Ingredients
- 1 Acorn Squash
- 1 Tbs EVOO
- 1/4 tsp ground Sea Salt
- 1/4 tsp ground Black Pepper
Instructions
- Preheat oven to 450 degrees.
- Wash and trim the ends off of the Acorn Squash.
- Stand Squash upright and cut in half length wise.
- Scoop out seeds.
- Place Squash on a parchment paper lined baking sheet.
- Brush inside of Squash with 1 Tbs Olive Oil.
- Sprinkle 1/4 tsp each of Salt and Pepper evenly over inside of Squash.
- Turn Squash over so insides are facing down on the baking sheet.
- Bake 30-35 minutes or until squash is tender enough to pierce with a fork.
- Enjoy!



Leave a Reply